

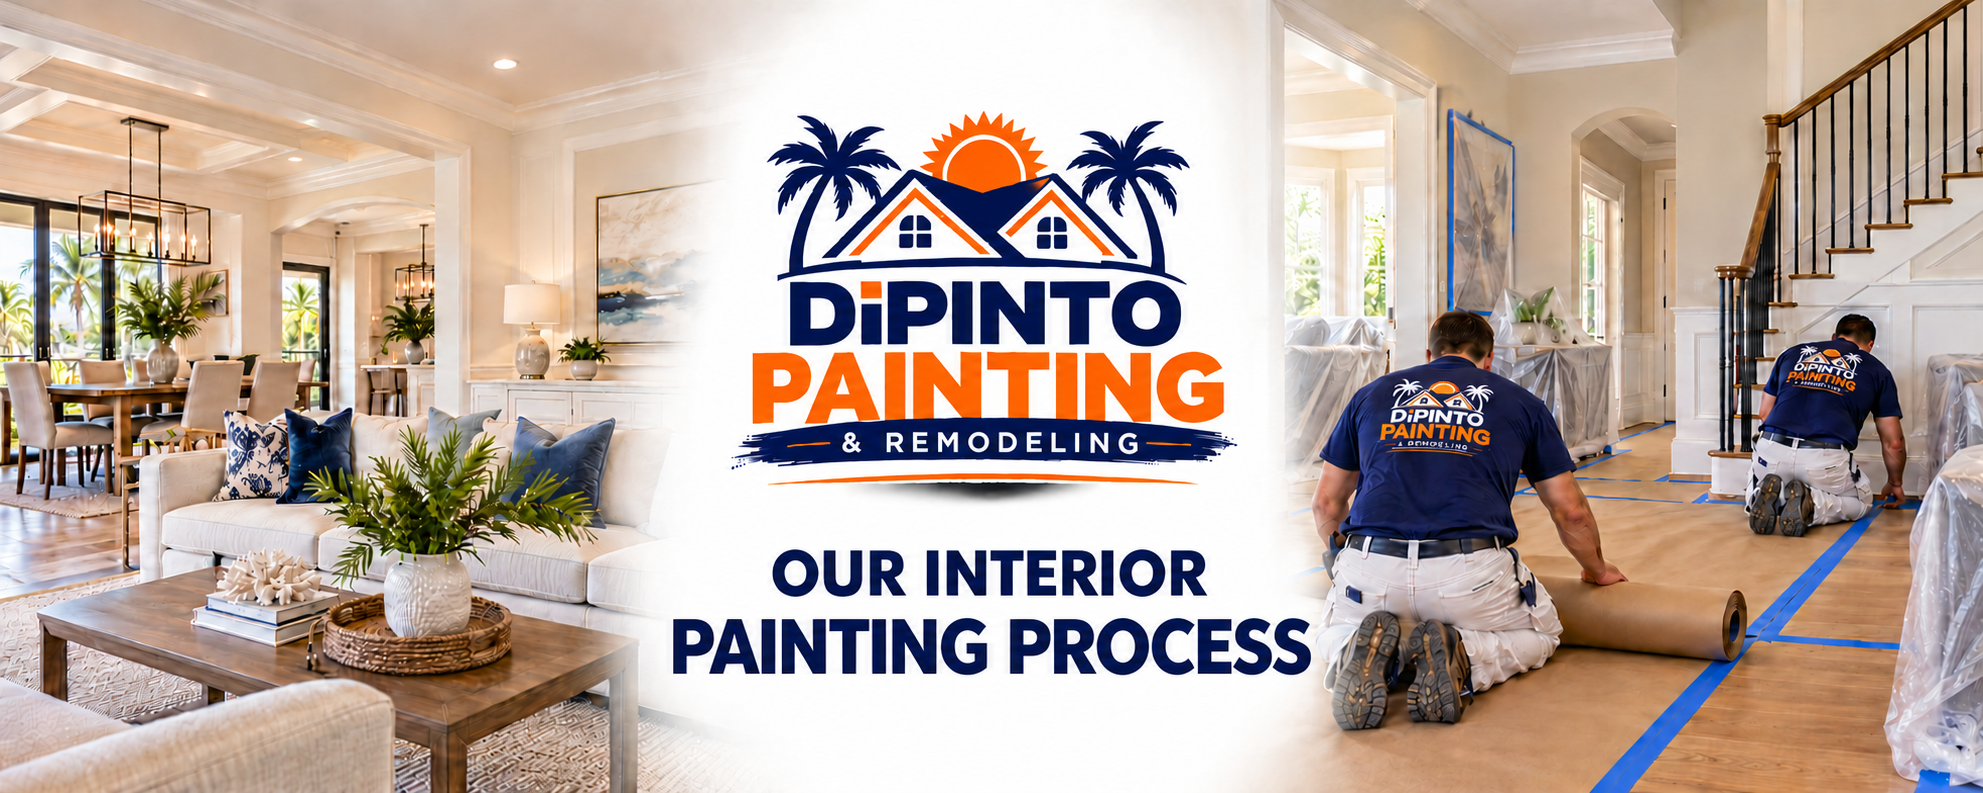
Our Approach to Interior Painting
At DiPinto Painting, we believe a beautiful, long lasting paint job starts with proper preparation and attention to detail. From protecting your furniture and floors to preparing surfaces and applying the final coats of paint, we take pride in every step of the process. Our goal is to deliver professional results while treating your home with the care and respect it deserves.
Here's what you can expect when you hire DiPinto Painting for your interior painting project.
-
Step 1- Preparing the Work Area
Before painting begins, we carefully move furniture away from the surfaces being painted to provide adequate access to the work areas. When included in the project scope, we also remove and reinstall televisions, window treatments, artwork, and other wall mounted items as needed.
We ask homeowners to secure small personal belongings, valuables, and fragile items before work begins. Once painting is complete, we return furniture and other items we've moved to their original locations, helping make the entire process as convenient and stress-free as possible.
-
Step 2- Protecting and Masking the Work Area
We carefully protect floors, furniture, and surrounding surfaces, using clean drop cloths, plastic sheeting, and other protective materials as needed. Electrical switch plates and outlet covers are removed when appropriate to ensure a clean, professional finish.
Fixtures, cabinetry, countertops, and other surfaces not being painted are also carefully masked and protected. Taking the time to properly protect your home helps prevent accidental paint splatters and allows our crew to work efficiently while maintaining a clean, organized work environment.
-
Step 3- Drywall Repairs and Surface Preparation
We inspect the walls and ceilings for nail holes, cracks, dents, and other surface imperfections. Minor drywall repairs are completed as outlined in your estimate, with the repaired areas properly sanded and prepared to achieve a smooth, uniform finish.
Larger drywall repairs, extensive skim, coating, or additional surface preparation may require additional labor and materials. Any work beyond the original scope will be discussed and approved before proceeding.
-
Step 4- Surface Cleaning
Proper surface cleaning is essential for achieving a smooth, long lasting paint finish. We remove dust, dirt, and other surface contaminants as needed to help ensure proper paint adhesion.
Special attention is given to areas where grease, residue, or dust may accumulate, such as kitchens, bathrooms, doors, and trim. All cleaned surfaces are allowed to dry thoroughly before painting begins.
-
Step 5- Caulking and Sealing
We inspect gaps and cracks around baseboards, crown molding, door casings, window trim, and other painted surfaces. Where needed, deteriorated or cracked caulking is removed or repaired, and high-quality, paintable caulk is applied to create clean, seamless transitions between surfaces.
Proper caulking helps improve the overall appearance of the finished paint job while minimizing visible gaps and imperfections.
-
Step 6- Scraping and Sanding
We carefully inspect painted surfaces for loose or peeling paint, rough areas, and other imperfections. Scraping and sanding are performed as needed to remove loose material, smooth uneven surfaces, and prepare them for proper paint adhesion.
Special attention is given to repaired areas, trim, doors, and other surfaces were a smooth, uniform finish is especially important. Sanding dust is removed before primer or paint is applied.
-
Step 7- Painting and Finish Application
Once all surface preparation is complete, we begin applying the specified paints and finishes. Our typical sequence starts with ceilings, followed by walls, and finishes with doors, baseboards, and other trim.
We use professional application techniques, including brushing, rolling, and spraying when appropriate, to achieve consistent coverage and a smooth, uniform appearance. Special attention is given to cutting in around ceilings, trim, corners, and other detailed areas to achieve clean, crisp lines.
When rolling walls, we use professional grade rollers suited for each surface, maintaining a wet edge and working in consistent sections to minimize lap marks and achieve an even, uniform finish.
The number of coats applied to each surface will be determined by the project requirements and clearly outlined in your written estimate.
-
Step 8- Clean Up and Restoration
Once painting is complete, our crew carefully removes all protective coverings, masking materials, and painting supplies. Work area areas are swept or vacuumed as needed, and any debris generated during the project is collected and properly disposed of.
Furniture and other items moved or removed as part of the painting process are returned to their original locations. We take pride in leaving your home clean, organized, and ready to enjoy.
-
Step 9- Final Inspection and Walkthrough
Every completed interior painting project undergoes a final quality inspection by our project manager to ensure the work meets our standards of workmanship. We carefully review the painted surfaces, check for any areas that may need attention, and address necessary touchups.
Once our inspection is complete, we conduct the final walk-through with the homeowner to review the finished work, answer any questions, and address any remaining concerns before the project is considered complete.